MP5 V4 Slip Trip is a topic gaining interest among enthusiasts.

MP5 V4 slip Trip
The MP5 V4 Slip Trip is designed to interface with the bolt carrier group (BCG), ensuring proper engagement during forward carrier movement.
Correct installation ensures smooth cycling and prevents component wear or misalignment.
Installation Steps
Step 1 — Attach the Trip Slip
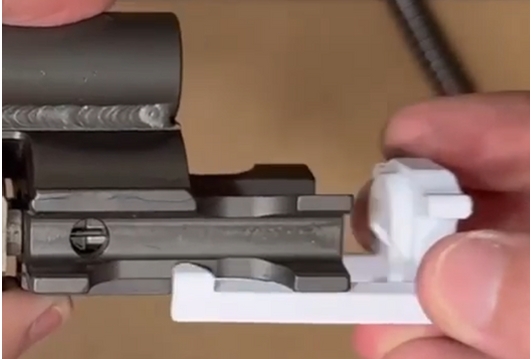
- Position the Trip Slip so that it securely grabs onto the back of the bolt carrier.
- Ensure it’s seated evenly and aligned so it moves naturally as the carrier moves forward.
- Do not apply pressure that forces the Trip Slip’s front arms outward.

Trip Slip positioned halfway on the bolt carrier before insertion.
Step 2 — Check Fitment
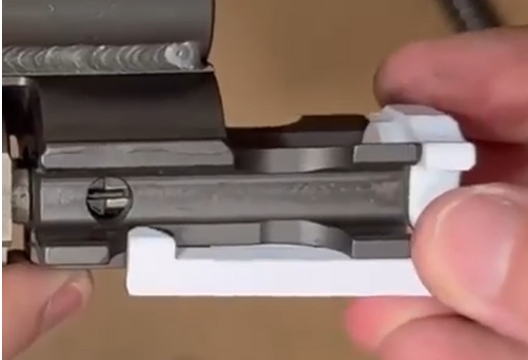
- When fully collapsed, the Trip Slip should sit flush against the back of the BCG.
- Confirm that no outward pressure is applied to the two front arms.
- The connection should feel snug, with no wobble or visible misalignment.

Trip Slip flush with the back of the BCG — ensure no outward pressure on arms.
Step 3 — Insert the Bolt Carrier Group
- With the Trip Slip attached, slide the BCG into the receiver.
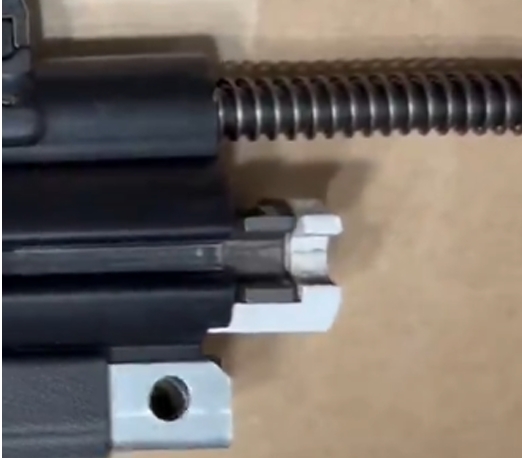
- The Trip Slip should be positioned about halfway on the carrier during insertion.
- The BCG should slide smoothly into the receiver without resistance or binding.

BCG slides smoothly into receiver with Trip Slip installed correctly.
About MP5 V4 Slip Trip
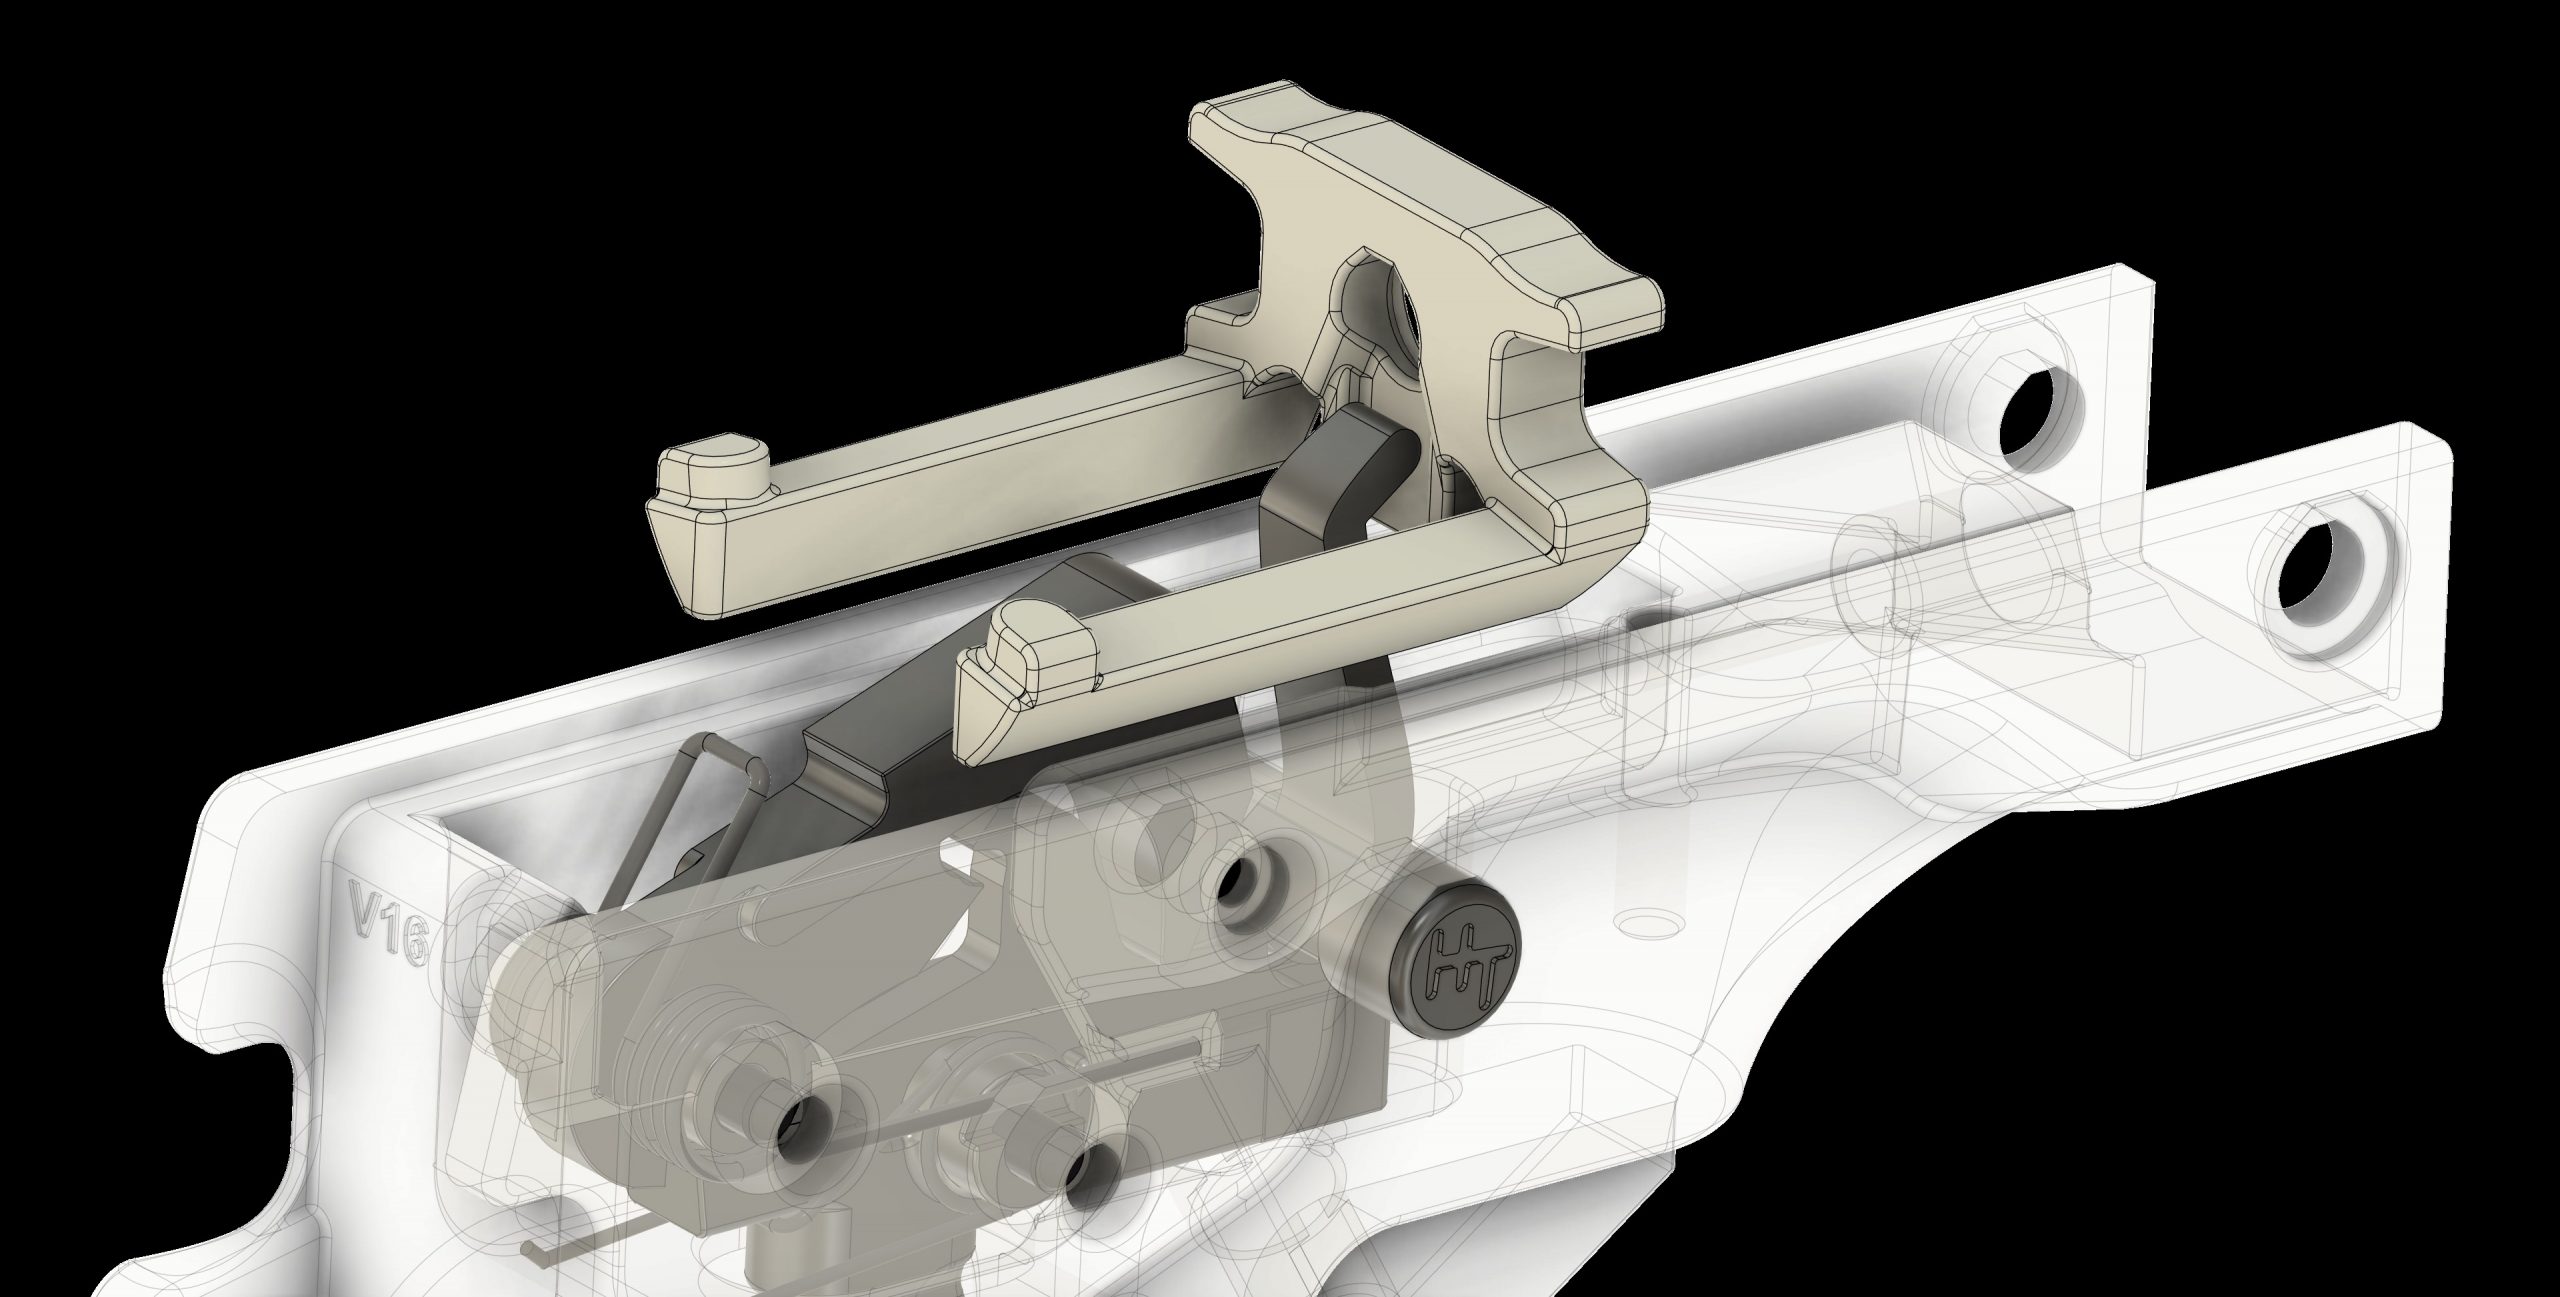
The Slip Trip is nothing more than a trip “bar” for the MP5 platform that enables most, if not all, MP5s and clones to work with AR-15 parts that require a full-auto bolt carrier.
The Slip Trip functions by sliding on the rails of the receiver while being pulled by the bolt carrier. It doesn’t require any special modifications and will work with any bolt carrier, including semi-only cut BCGs. When a round is fired and the bolt carrier comes back, the Slip Trip will collapse on itself so it won’t have any noticeable effect on rate of fire, recoil impulse, and will not create additional wear on the receiver.
Credits: Huge credit goes to hertzofheimer and meatbanana42069 for their original designs and feedback that has enabled this version to exist.
Also have to give credit to @S3igu2 for designing the Leber V2. This one design changed the landscape of the 2A world over night, and allow 3DP dudes like myself, to start up a business doing what I love to do!
Notes & Best Practices
- Always clean and lubricate all moving parts before assembly.
- If resistance occurs during insertion, remove and realign the Trip Slip before proceeding.
- After installation, perform a manual function check to verify proper carrier movement.
Troubleshooting
| Issue | Possible Cause | Recommended Fix |
|---|---|---|
| Trip Slip does not flush with BCG | Misaligned or uneven seating | Reinstall and ensure flat contact |
| Front arms pushed outward | Overpressure during attachment | Reposition; avoid forcing Trip Slip |
| Carrier binds on insertion | Trip Slip misaligned or debris in receiver | Clean, realign, and reinsert |
